How to Harvest Olives in the UK: Timing, Tools and Small-Batch Tips
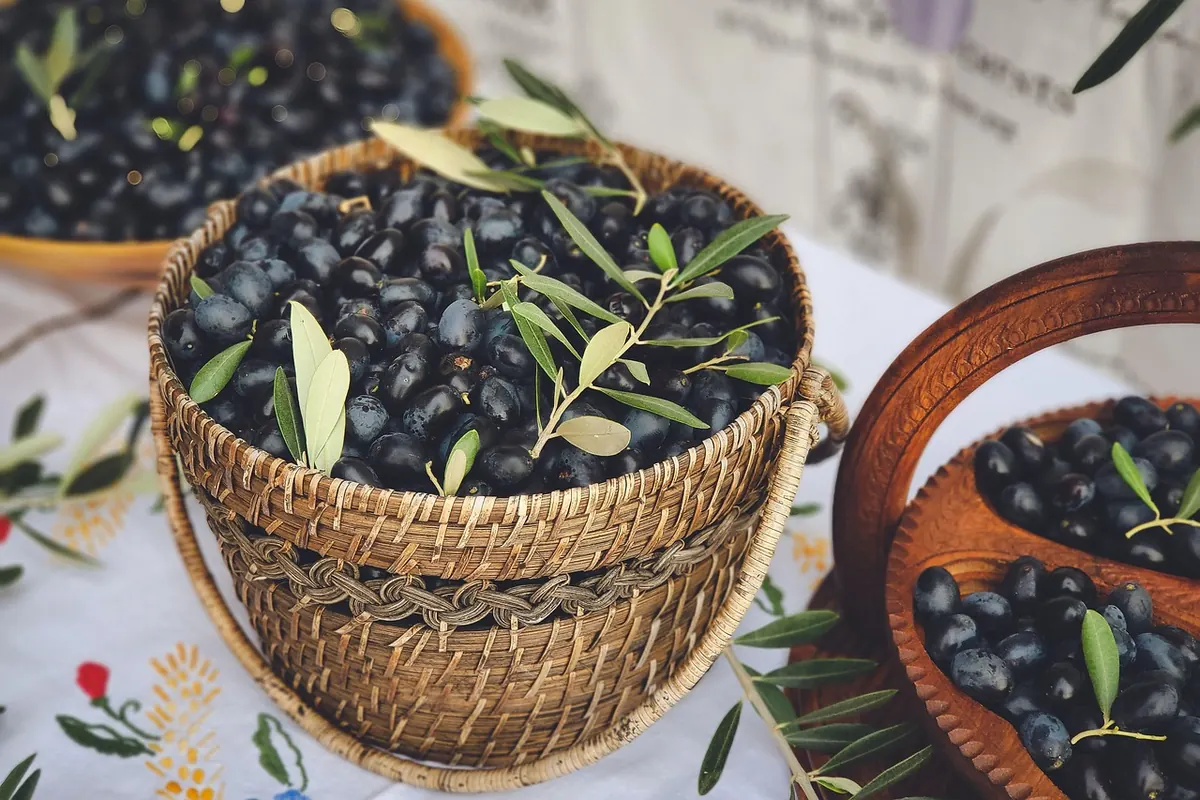
Most British olive growers learn the same lesson in their first year: the tree sets fruit far more readily than it ripens it. Olives need a long, warm summer and a mild, dry autumn to move from green through purple to black, and in the UK you are negotiating with the weather at every stage. The harvest is small — sometimes a single bowlful — but it is real, and with a little patience the fruit is perfectly usable for curing at home or for a modest bottle of oil.
When olives ripen in a British garden
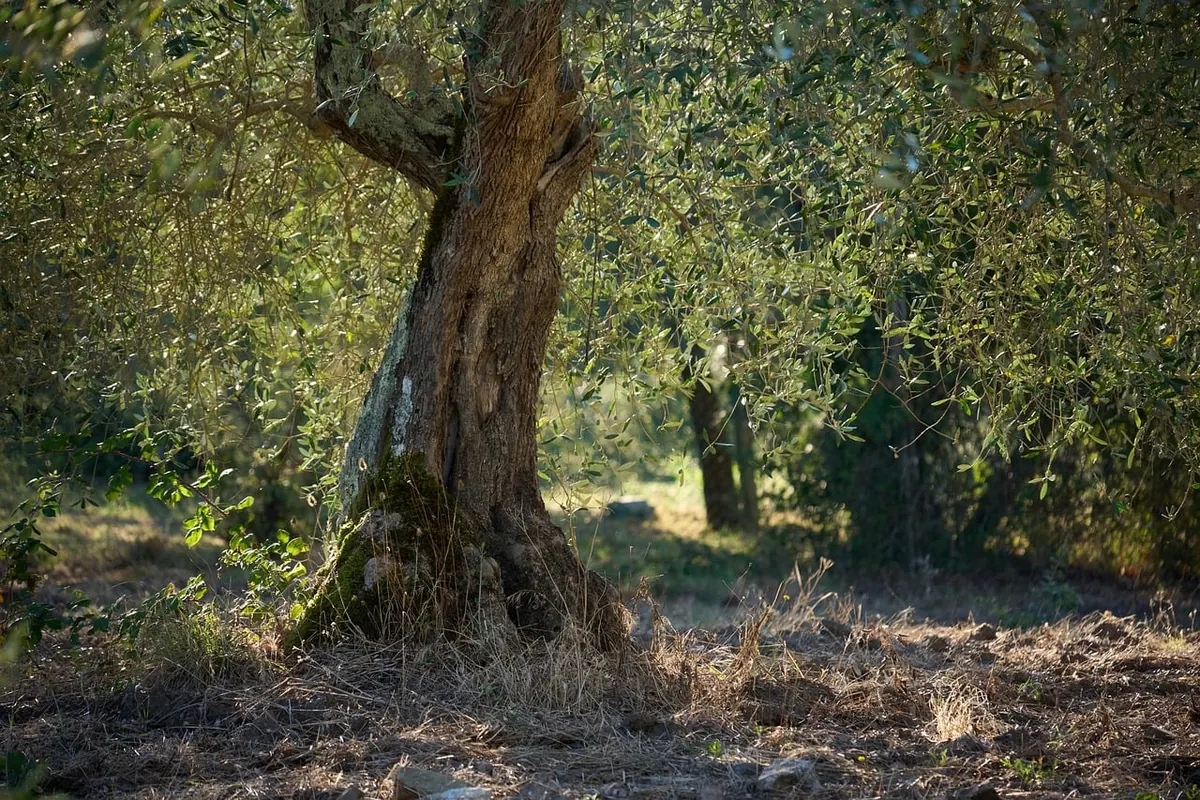
Colour change usually begins in late summer and can run well into winter. On a warm, sheltered site — a south-facing wall in Cornwall, a courtyard in London, a coastal garden in Dorset — fruit may start turning in September and be fully dark by November. Further north, or in an exposed garden, you might still be looking at green olives in December, with only the outside of the canopy showing any colour at all. Microclimates matter enormously: two trees a mile apart can be a fortnight apart in ripening, simply because one sits against a warm brick wall and the other faces an open field.
That is not a failure. Ripening is driven by accumulated warmth rather than by the calendar, so a sunless August delays everything by weeks. So does a heavy crop: a tree carrying more fruit than it can fill will ripen unevenly, with some olives swelling and darkening while others stay hard and green into the new year. A tree in a cool Devon valley, for instance, may hold green fruit well into December if the autumn has been overcast, while a potted olive on a sunny London balcony could be fully black by early November.
Frost is the real deadline. Green olives are firm and will take a light air frost, but repeated freezing and thawing softens the flesh, and fruit that has been properly frozen through bruises badly at picking and deteriorates within days. Watch the forecast rather than the date. If a hard frost is coming and more than half your fruit has coloured, pick it. If the tree is still carrying hard green olives, you can gamble on a mild spell, but accept that you may lose them. A simple max-min thermometer in the garden can help you track how much warmth the tree has actually received, which is often more useful than the calendar.
How to tell whether your olives are ready
Three quick tests on a sample of half a dozen fruit will tell you more than any rule of thumb.
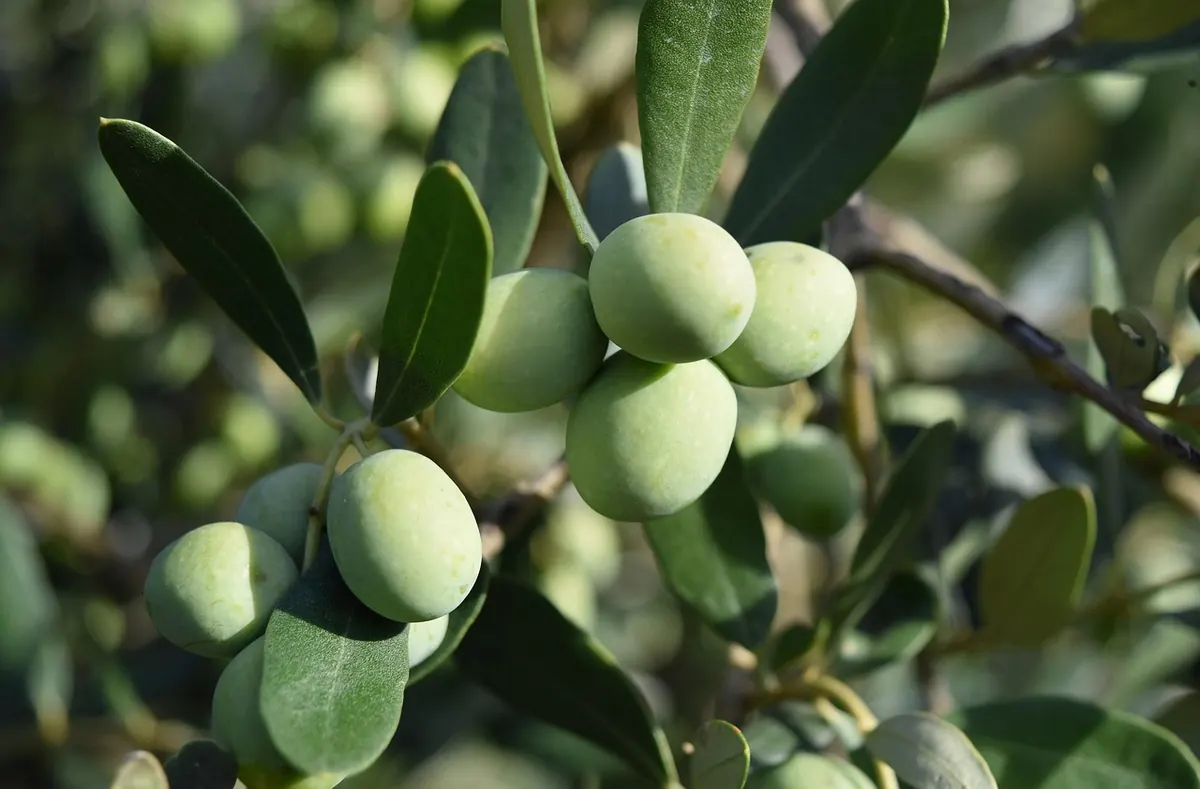
- Colour. Green, then yellow-green, then purple, then black. For oil, wait until most of the crop is at least purple. For eating, pick green at full size if you like a firm, pungent olive, or leave them to darken for something softer.
- Squeeze. A hard olive is not ready. A ripe one gives slightly under thumb pressure without collapsing into a mush. If it squashes easily, it is overripe and only fit for oil — use it quickly.
- Cut one open. The flesh of an unripe olive is chalky white. As it ripens it turns translucent, cream to yellow, and the stone starts to loosen. A ripe stone will slide out with little resistance.
A taste test is less useful than it sounds. Olives are fiercely bitter at every stage of ripeness; the difference between green and black is one of degree, not of edibility. Nothing straight off the tree can be eaten raw.
Tools worth having on hand
- Sharp, clean secateurs for snipping fruit-laden twigs that are out of reach.
- An olive comb or small plastic rake. A wide-toothed plastic rake does the job; metal tines tear bark.
- A tarpaulin, old bedsheet or net spread under the tree. Anything that catches the fruit saves you hours on your knees.
- Two or three shallow buckets or crates. Olives bruise under their own weight, so avoid deep sacks.
- Soft gardening gloves, so you can feel the fruit without crushing it, and a step ladder set on firm, level ground — never lean into the canopy from a wall or a chair.
A small pair of curved snips is also handy for getting into tight clusters without bruising the fruit. And keep a dedicated container for leaves and twigs — sorting as you go saves time later.
Picking methods for a small tree
Spread the sheet first and work in stages rather than trying to strip the tree in one go. Comb downwards through the outer branches and let the olives drop onto the sheet; hand-pick the clusters close to the trunk, where a rake does more damage than good. Give the tree a gentle shake by hand if you like, but leave it there. Vigorous shaking cracks bark and snaps thin shoots, and it brings down as much leaf as fruit.
Work through this sequence and the job goes quickly:
- Pick on a dry morning, once any dew has lifted. Wet fruit stores and cures badly.
- Lay the sheet beneath the canopy and tuck the edges up slightly so fruit cannot roll away.
- Pick from the outside in, combing downwards and letting gravity do the work.
- Empty the sheet into shallow crates and sort as you go, removing leaves, twigs and any damaged fruit.
- Handle the fruit gently; never pour from a height or let crates sit in direct sun.
- Process within 24 hours for
Photo: Van3ssa_ / Pixabay