From Garden to Oil: A Beginner's Guide to Home Olive Pressing
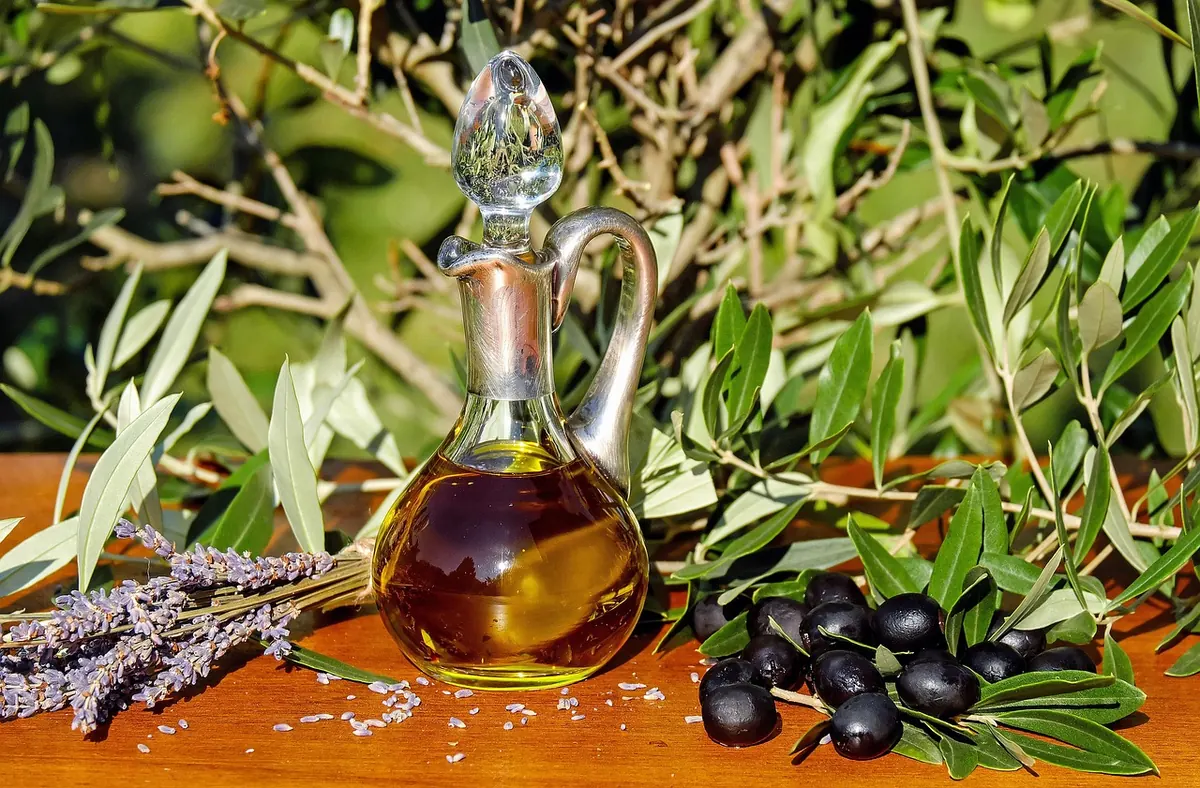
Every autumn, someone in Britain picks a colander of olives from a pot on the patio and wonders whether they can press them into oil. The short answer is yes, you can. The longer answer involves a lot of fruit, a little patience, and a willingness to accept that five kilograms of olives will not fill a large bottle. That is not a failure of technique. It is simply how olives work.
What a Home Crop Can Realistically Produce
As a rough rule of thumb, good fruit yields oil equal to somewhere between 10 and 20 per cent of its weight. So 5 kg of well-ripened olives might give you half a litre on a generous day, and rather less if the fruit is underripe, dry, or grown through a cool, cloudy summer. UK-grown olives often sit at the lower end of that range, because our season is shorter and the fruit rarely reaches the fat, oily state you would see in Puglia or Crete.
The practical lesson: press in batches, and treat the result as something to taste and share rather than something to stock the cupboard with. If you have one small tree, you may get a few hundred millilitres. That is still a lovely thing to have, particularly when you know exactly which branch it came from.
Pick at the Right Moment
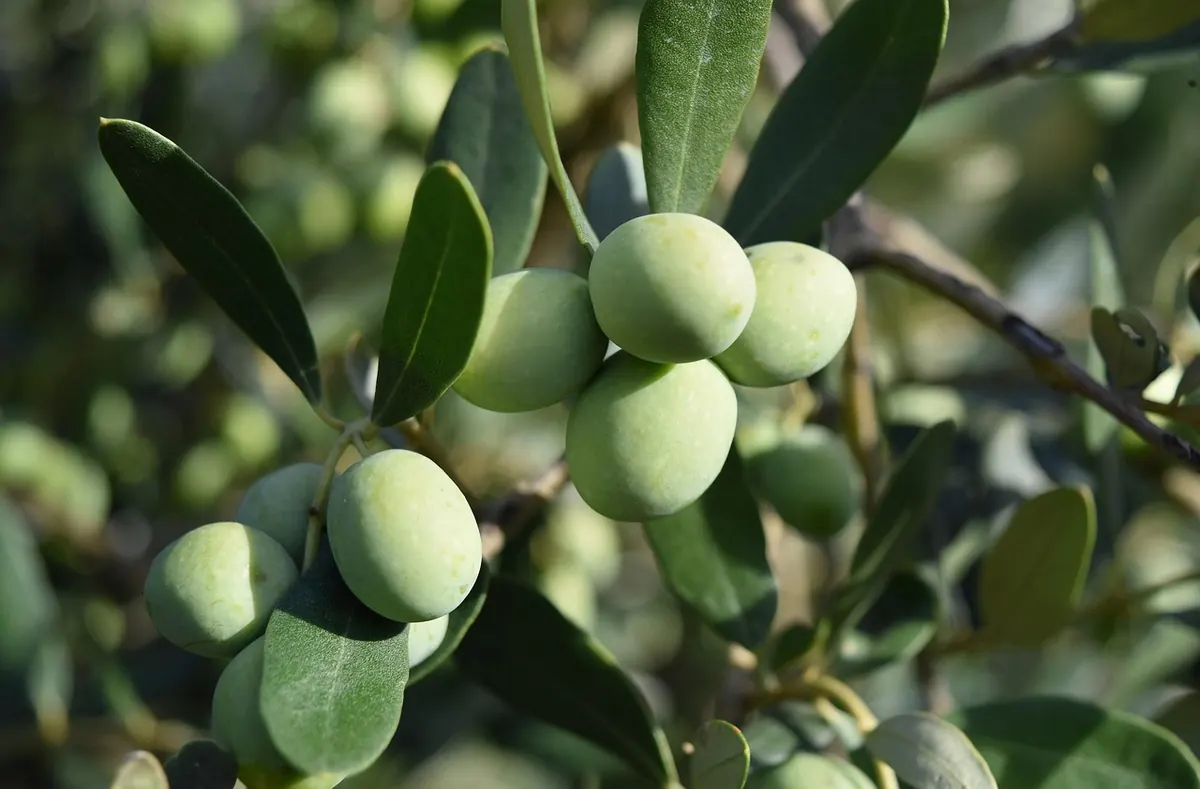
Timing changes the oil more than any piece of equipment you will buy. Olives move from green to purple to black, and the flavour shifts with them. Fruit picked green gives a punchy, peppery, sometimes aggressively bitter oil with a longer shelf life. Fully black fruit gives a softer, rounder, more buttery oil that fades sooner.
For most home growers, the sweet spot is when the majority of fruit has turned purple-black but the flesh is still firm. In the UK that often lands between late October and early December, depending on variety and shelter. Watch the forecast. A hard frost will soften and spoil the fruit, so pick before it arrives rather than after.
Harvest by hand, or with a small plastic rake over a sheet. Whatever you do, avoid bruising. Bumped and split olives start to break down immediately, and that shows up in the taste.
Preparing the Fruit
Strip out leaves, twigs and any fruit that is shrivelled, mouldy or damaged. A few leaves in the mill will make the oil taste green and stalky, so this stage is worth doing properly.
- Rinse the olives in cool water and drain them well.
- Discard anything soft, holed by olive fly, or clinging to grit.
- Do not soak them overnight; you will wash away flavour, not improve it.
- Press as soon as you can. Same day is ideal, and certainly within 48 hours, kept cool and shallow rather than heaped in a bucket.
The Pressing Process, Step by Step
The principle is the same whether you are working with a stone mill or a food processor: crush the fruit into a paste, encourage the oil to gather, then separate it from the water and solids.
- Crush. Blitz the olives into a coarse paste. A food processor works, but pulse it. You want broken cells, not a hot purée.
- Malax. Stir the paste slowly for 20 to 45 minutes, gently warming it to around 25–30°C by standing the bowl in a sink of warm water or in a warm room. This lets tiny oil droplets merge into bigger ones. Hotter than that and you begin to lose the fresh, grassy notes.
- Press or spin. A proper press squeezes the paste through mats or cloth, letting oil and vegetable water run out together. Without one, a hand press, a small centrifuge, or a home-built bottle press will do a modest job.
- Settle. Let the liquid stand in a tall, narrow container. The oil floats. After a few hours, decant it off the watery layer below, then leave it a day or two more and decant again.
Expect a cloudy, bright, slightly bitter oil at first. That is normal, and often delicious.
Equipment: From Blender to Bottle Press
You do not need a commercial mill. You do need clean kit and a realistic sense of what each method gives you.
Kitchen-scale options
A food processor plus a muslin-lined colander will produce something, but the paste tends to emulsify and the separation is slow and messy. A dedicated small oil press, either the screw type or a hydraulic press with cloths, is a much better use of an afternoon if you plan to do this every year.
The bottle press trick
A much-loved low-tech method: fill a clean plastic drinks bottle with the paste, prick a few small holes in the base, and suspend it over a jug with a weighted bag on top. Oil and water drip through over hours. It is slow, it wastes a little paste, and it genuinely works.
Using someone else's mill
If you have a decent crop of 20 kg or more, ask around. Small mills, community orchards and growers' groups sometimes offer a pressing day. Home growers often combine crops to make a batch worth running. If you plan to sell any oil, even casually, check the labelling and hygiene rules with your local authority before you do.
Settling, Storing and Using Your Oil
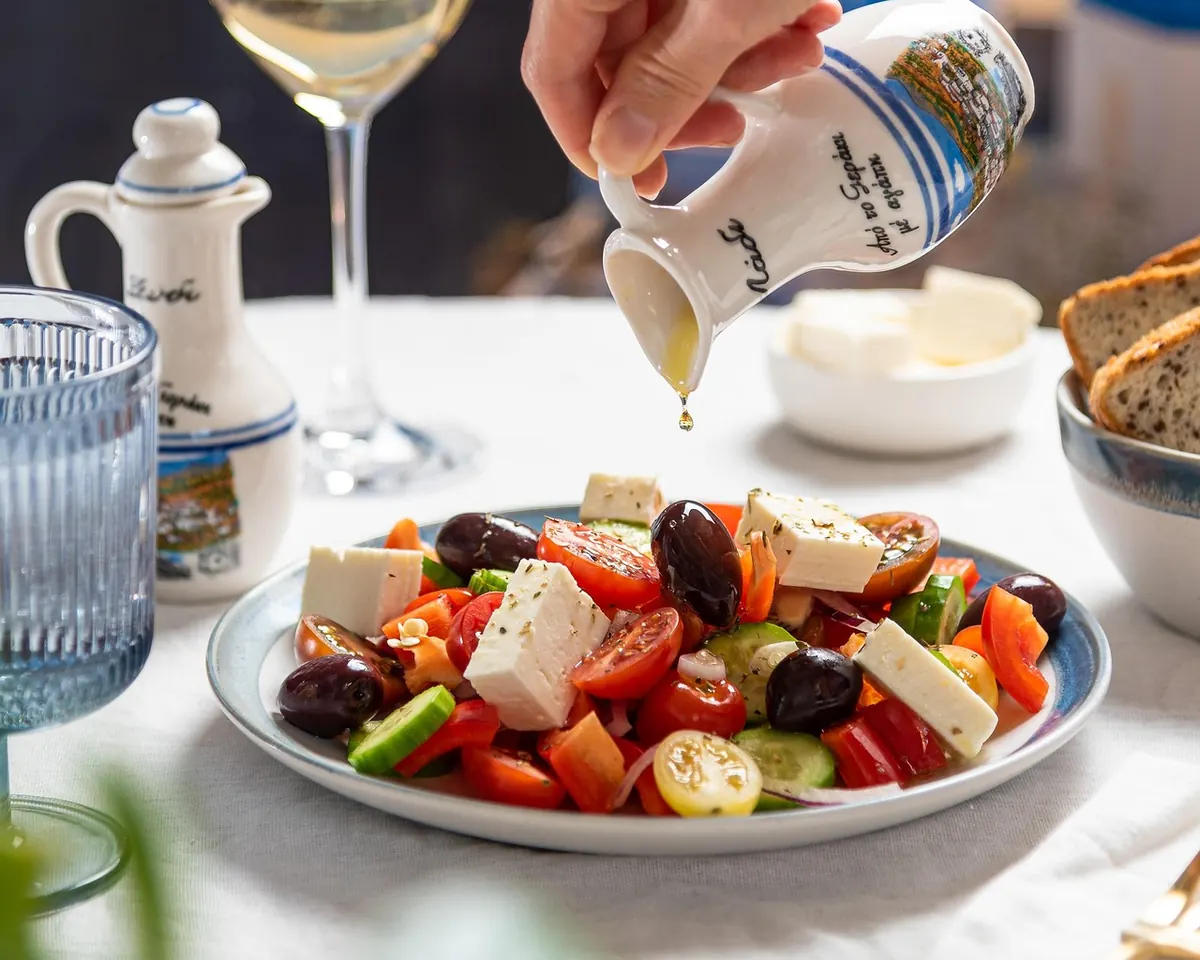
Keep the oil in a dark glass bottle or a tinned steel tin, filled as close to the top as possible, and store it somewhere cool and dark. Sediment continues to settle and can turn slightly sour over time, so decant off the clear oil rather than shaking the bottle. Use it within a year, and use it for things where the flavour shows: bread, tomatoes, beans, grilled fish. Fresh home-pressed oil is at its best in the first few months.
When Your Crop Is Too Small to Press
If you have a couple of hundred grams of olives, do not build a press. Cure and eat them instead. Slice each one, soak in changes of water for a week or two, then brine them and wait. It is a slow business, but so is pressing, and eating your own olives is a fine outcome in its own right.
And if the harvest fails completely, as it sometimes will in a wet, cool year, that is simply the UK climate talking. Feed the tree, shelter it from wind, give it a warm wall and a free-draining compost, and try again next autumn with slightly higher hopes and slightly lower expectations.
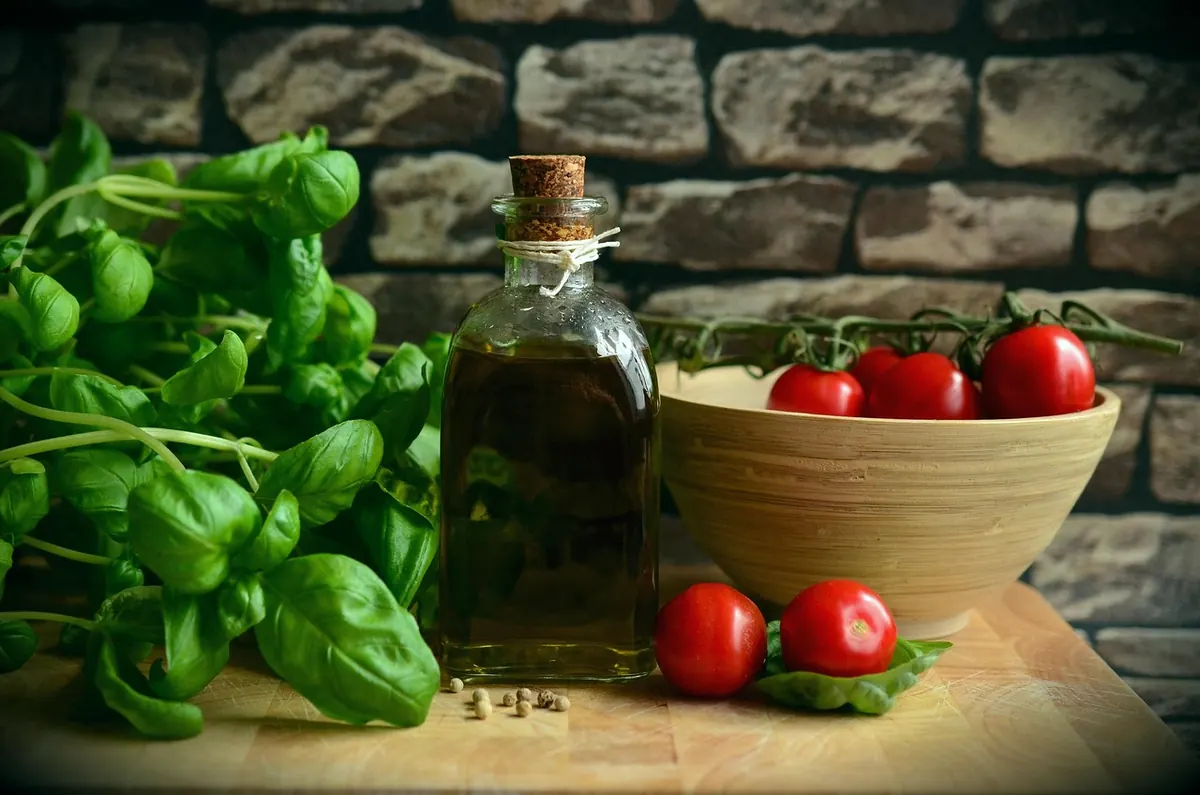
Photo: Couleur / Pixabay